The Arkansas Trav'ler
Pitmaster Gazette · Championship BBQ Edition
How-To Guide
This is the way Jim Quessenberry taught his sons to smoke ribs. It’s the same method he used to become a two-time World Champion at Lisdoonvarna, Ireland (1985 and 1987) and place top three at the KCBS American Royal. It’s not the only way to smoke ribs, but it works — every time, on any smoker, for anyone willing to be patient and pay attention to a few details.
Read this all the way through before you start cooking. Then read it again. Then go fire up the smoker.
What you’ll need
Equipment:
- A smoker (offset, kamado, pellet, electric, or even a kettle grill set up for indirect heat)
- A reliable thermometer (an instant-read AND a smoker chamber thermometer)
- Smoke wood — hickory is the championship choice; apple, pecan, or cherry also work
- Heavy-duty aluminum foil
- A spray bottle (apple juice or water)
- A basting brush
Ingredients (per rack):
- 1 rack of pork spare ribs or St. Louis–cut ribs (3-4 lbs)
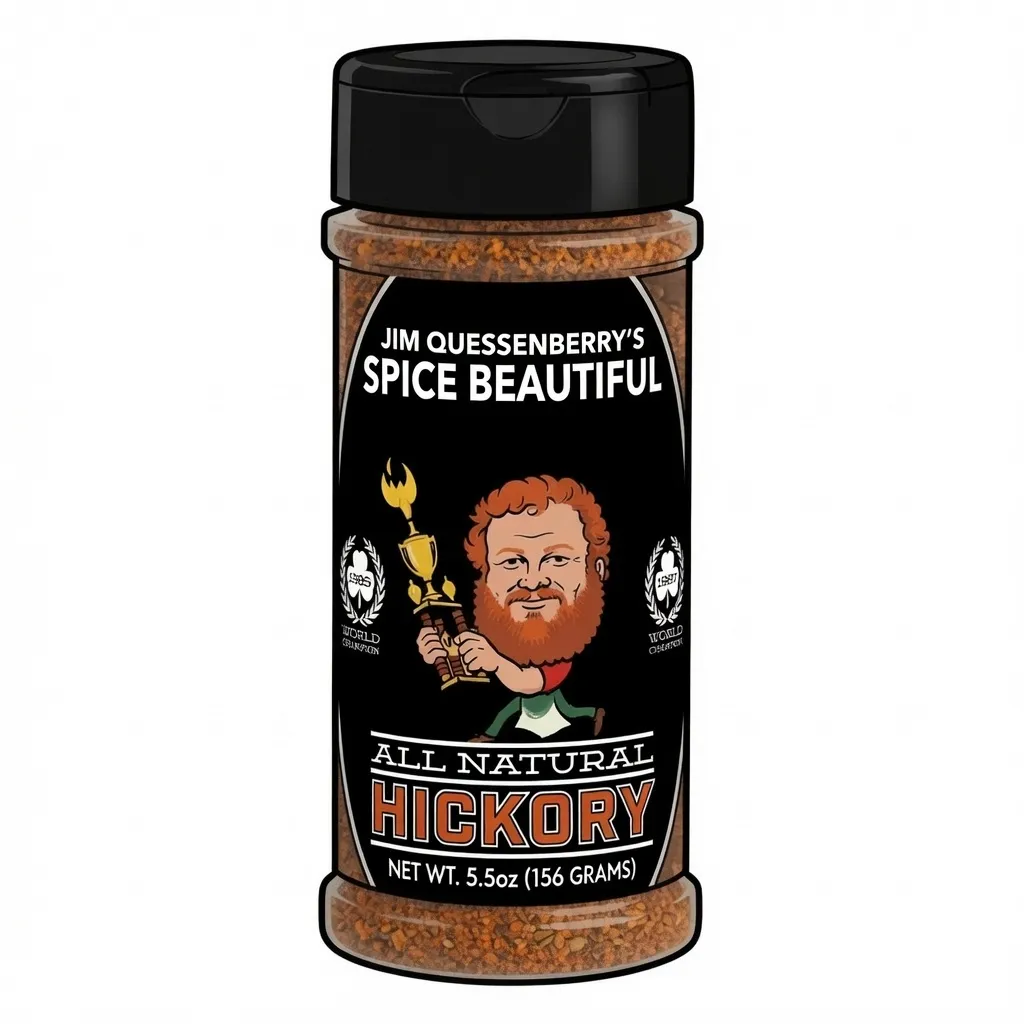
- 3-4 tablespoons of Spice Beautiful Hickory (or your rub of choice)
- 1 tablespoon yellow mustard or olive oil (as a binder)
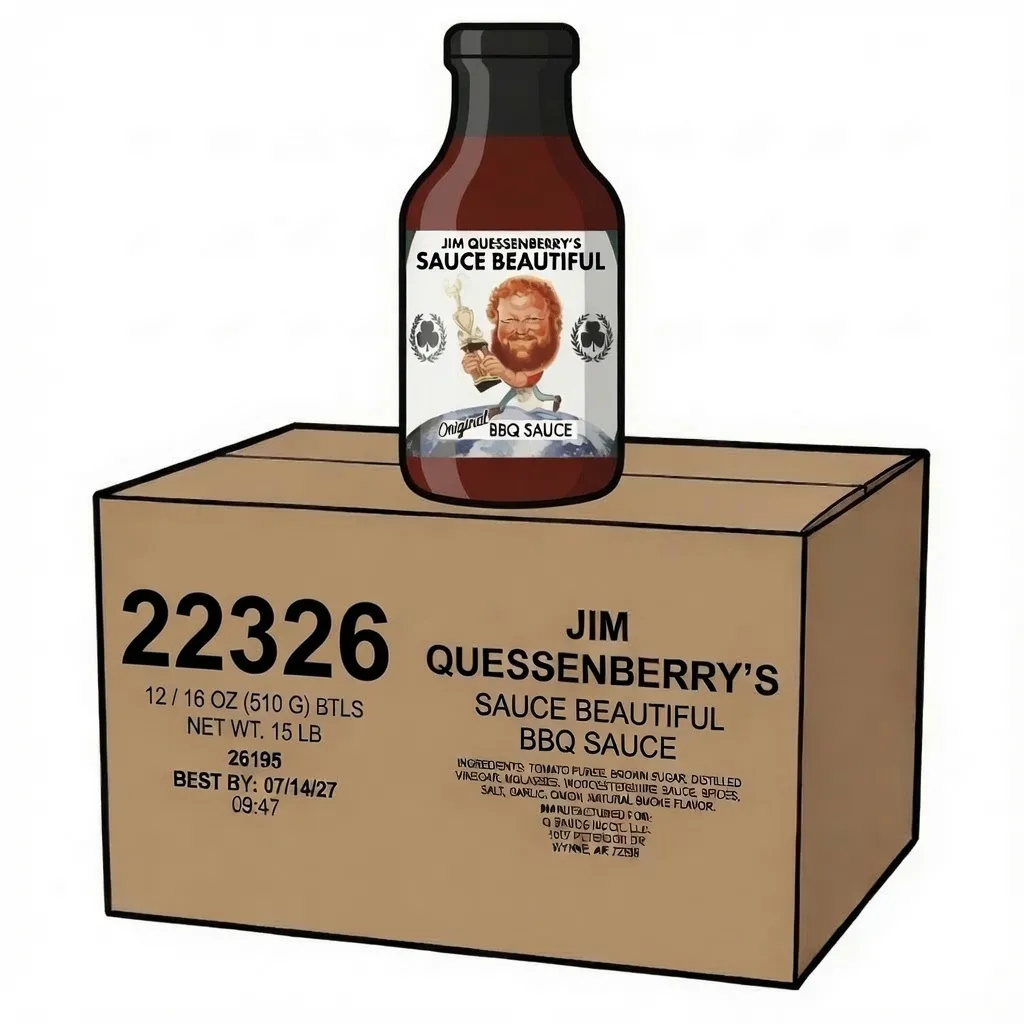
- 1/2 cup Sauce Beautiful Original (for the finishing glaze)
- 1/4 cup apple juice (for the foil wrap and spritz)
Step 1: Pick the right ribs
You have three choices:
- Baby back ribs — smaller, leaner, faster cooking. Great for beginners. Cooks in 4-5 hours.
- Spare ribs — bigger, fattier, more flavor. The competition standard. Cooks in 5-6 hours.
- St. Louis–cut spare ribs — spare ribs trimmed to a uniform rectangle, with the brisket bone and skirt removed. Cleaner presentation, even cooking. Our pick.
For your first smoke, get St. Louis-cut spare ribs. They’re forgiving, they cook evenly, and they have enough fat to stay moist if you make small mistakes.
Step 2: Remove the membrane
This is the step most people skip, and it’s the difference between great ribs and chewy ribs.
On the bone side of the rack, there’s a thin, papery membrane (called the silverskin) running across all the bones. If you leave it on, your rub never penetrates and the ribs eat tough. You have to take it off.
How to remove the membrane:
- Slide a butter knife (not a sharp knife) under the membrane at one end of the rack
- Lift the edge of the membrane up
- Grab it with a paper towel for grip
- Pull it off in one long sheet
If it tears, no problem — start over from the next bone. Once the membrane is off, you’ll see clean rib meat all the way across the bone side.
Step 3: Apply the binder and rub
Brush the rack lightly with yellow mustard or olive oil on both sides. Don’t worry — you won’t taste the mustard. It’s just there to help the rub stick.
Then sprinkle Spice Beautiful Hickory generously and evenly on both sides. Don’t be shy — you want full coverage, but you don’t need a crust so thick you can’t see the meat. About 3-4 tablespoons total per rack.
Let the rubbed ribs sit at room temperature for 30 minutes while your smoker comes up to temp. The rub will start to dissolve into the surface moisture and form the beginning of a bark.
Step 4: Set up your smoker
Get your smoker stable at 225°F (107°C) with clean smoke running. “Clean smoke” means a thin, almost invisible blue smoke — not thick white billowing smoke. Thick white smoke is the sign of a fire that’s not getting enough air and it’ll make your ribs taste bitter and ashy.
For wood, hickory is the championship choice — it’s strong, classic, and stands up to pork. Apple is sweeter and milder. Pecan is somewhere in between. Cherry adds a beautiful mahogany color but a milder smoke flavor. If you’re using an electric or pellet smoker, follow the same logic.
Don’t oversmoke. Add wood for the first 2-3 hours of the cook. After that, the ribs have absorbed most of the smoke they’re going to absorb, and more wood just adds bitterness.
Step 5: The 3-2-1 method (the championship standard)
This is the structure that built our family’s competition results. It’s broken into three phases.
Phase 1 — 3 hours unwrapped, in the smoke
Place the ribs bone-side down directly on the smoker grates. Close the lid. Set a timer for 3 hours and walk away.
After about 90 minutes, start spritzing the ribs with apple juice (or water with a splash of apple cider vinegar) every 30 minutes. This keeps the surface moist and helps the bark develop.
After 3 hours, you should see:
- A deep mahogany color
- A slight pull-back at the bone ends
- A firm bark with the rub fully set
Phase 2 — 2 hours wrapped in foil
Lay out two large pieces of heavy-duty foil. Place each rack bone-side up on the foil. Drizzle 2-3 tablespoons of apple juice on the bone side. (Some people add brown sugar, butter, and honey here for a sweeter finish — that’s fine but not required.)
Wrap the ribs tightly. Return them to the smoker for 2 more hours. The foil traps steam, which braises the ribs and breaks down connective tissue. This is where ribs go from “cooked” to “tender.”
Phase 3 — 1 hour unwrapped, with sauce
Unwrap the ribs (carefully — there will be hot juice) and place them back on the smoker, bone-side down.
Brush both sides with Sauce Beautiful Original. Let the sauce set for 15-20 minutes. Brush a second coat. Let it set again. After about an hour total, the sauce will be tacky, slightly caramelized, and beautifully glazed.
Step 6: Test for doneness
Don’t trust the clock — trust the meat. Ribs are done when they pass any of these tests:
- The bend test — pick up the rack with tongs in the middle. If it bends easily and the surface starts to crack, they’re done.
- The toothpick test — slide a toothpick between two bones. It should slide in like soft butter, with no resistance.
- Internal temp — between 195°F and 205°F in the meat between the bones. (Probe between the bones, not into one.)
- The pull-back — the meat will have visibly pulled back from the ends of the bones by about 1/4 inch.
If they’re not done yet, give them another 30 minutes and test again. If they’re done, pull them off the smoker and let them rest for 10-15 minutes before slicing.
Step 7: Slice and serve
Slice between the bones with a sharp knife, going slowly so you don’t tear the bark. Serve immediately, with extra Sauce Beautiful on the side for dipping.
Common mistakes (and how to avoid them)
- Oversmoking → Too much wood for too long = bitter ribs. Add wood for the first 2-3 hours only.
- Skipping the membrane → Tough, chewy ribs that don’t pull cleanly off the bone. Always remove it.
- Cooking too hot → Ribs need low and slow. 225°F is the magic number. 250°F is the upper limit.
- Saucing too early → Sauce burns at high heat and over long times. Save it for the last hour.
- Not letting them rest → Cutting hot ribs means juices run out and the meat dries.
- Overcooking → Yes, you can. “Fall off the bone” sounds good, but in BBQ competitions it actually loses points. The bone should pull cleanly — but the meat shouldn’t disintegrate.
A note from Jim
Jim Quessenberry used to say that smoking ribs isn’t a recipe, it’s a relationship. You get to know your smoker. You get to know your ribs. You learn what 225°F sounds like (the smoker’s airflow has a particular hum). You learn what a perfect rack looks like an hour before it’s done.
The first time you smoke ribs, follow this guide exactly. The second time, change one thing. The third time, change one more. After a year, you’ll have your own version of this method — and that’s how every championship pitmaster gets there.
Cook those ribs. We’ll eat ‘em.
What you need to make this work
- Spice Beautiful Hickory — Jim’s championship rub, perfect for ribs
- Sauce Beautiful Original — the finishing sauce
- The Pick 3 Combo — get the rub, the sauce, and a bonus at a discount
Or grab the recipe pages directly:
— End of dispatch · Hand-packaged in Arkansas —